Card/box
Use this option to display cards or boxes in an equal height regardless the content.
- In WordPress editor click on a + icon to add a new block.
- In the search field, start typing container and select the respective block.
- Make sure that field Content in block settings is set to Cards/boxes.
- The container defaults to three columns (which is the recommended number of image-based cards per row). However if text-only cards are being used you can use 4 columns. See the examples below for adding cards with different columns.
- Select the desired type of Header and add text for your Header:
- The container needs to have a Header. This ensures that your page will not have skipped headings between the cards and the preceding content outside the container.
- If you do not want the section header to be visible, you can hide it by changing the “Show Header” option to “No”.
- Select the background color for the container. Use the White background for both striped (green) cards and bordered (white) cards.
- The “Gray lightest” and “Gray light” backgrounds or an image may be used as an alternative background of bordered (white) cards, especially when the section header is hidden and there is no text between the section header and the cards.
- Do not include links in the text between the section header and the cards with the “Gray light” background as the link colour fails the contrast check for normal text with this background .
- If needed switch the Header color to White.
- Click on the block in the editor and a blue border will appear. Within the block border add cards.
- Use one card container for all cards that belong to the same section.
- Please note that in the editor, cards and boxes will appear one under the other. This is a different view from what you will see in the preview and on the live page.
10. If you use multiple containers on one page, please provide a unique ID for each container in the relevant field.
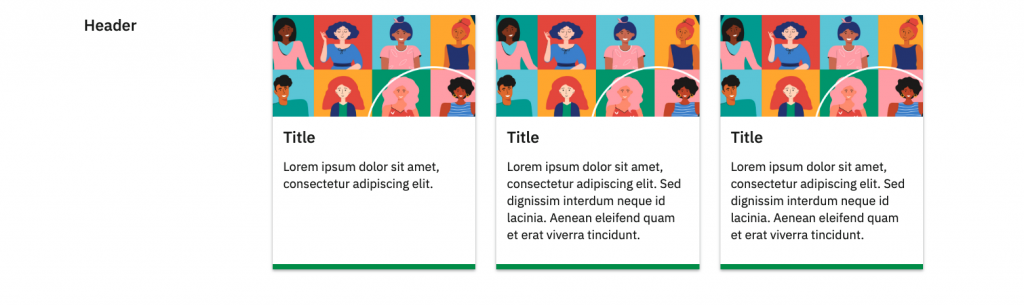
3 columns
*** Make sure you selected 3 columns under block settings ***
Example:
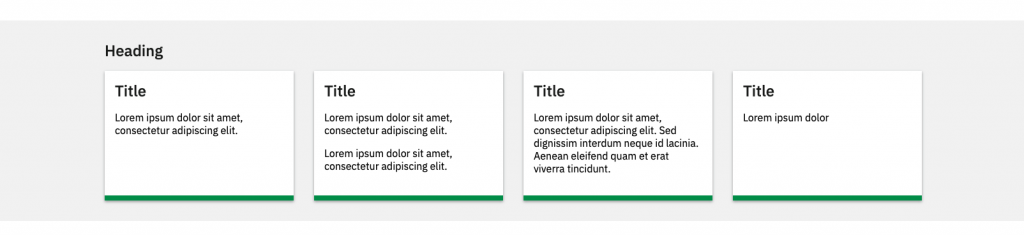
4 columns
*** Make sure you selected 4 columns under block settings ***
Example:
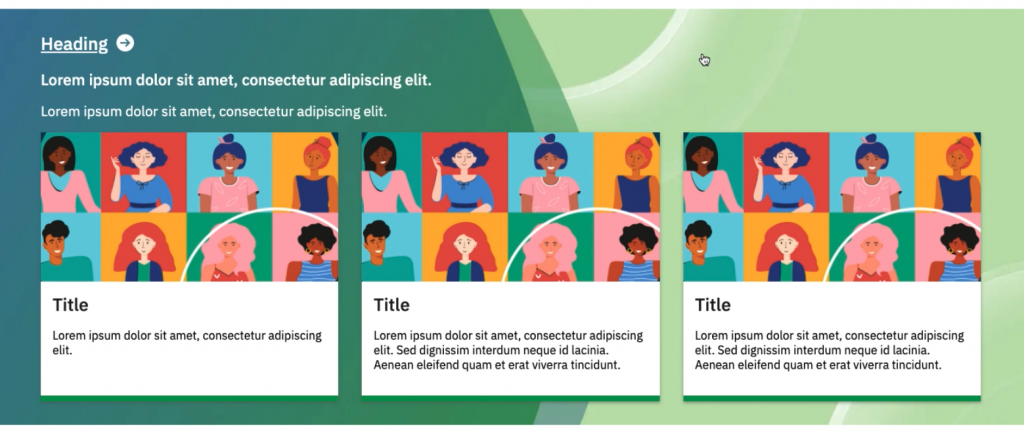
Inside the embl grid
*** Toggle ‘Inside of embl-grid’ field to ‘Yes’ under block settings ***
Example: